Whether for a Birthday, Holiday, Anniversary or just as a Thank You, it is important to find the perfect gift.
What should you get? The most important thing is that the gift should be USEFUL. This does not mean simply practical.
Useful means that it will be viewed/ played with/ remembered/ smelled/ etc. long after the gift was given.
So you need help finding the right gift? Good luck. I can’t help because the perfect gift comes from knowing and caring about someone deeply enough to understand them.
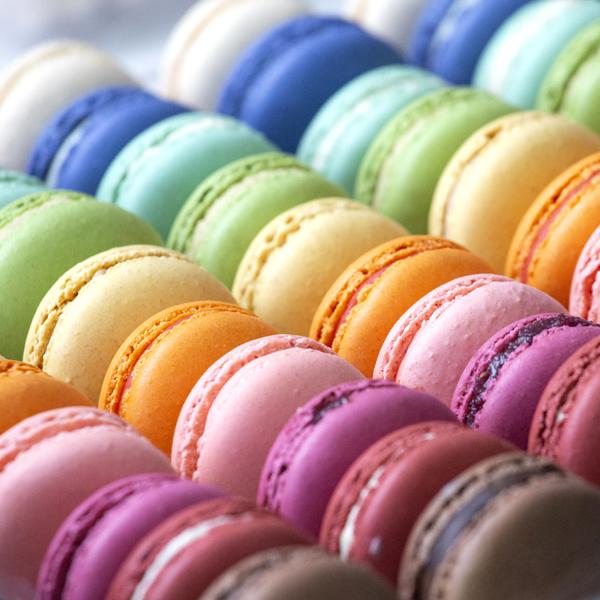
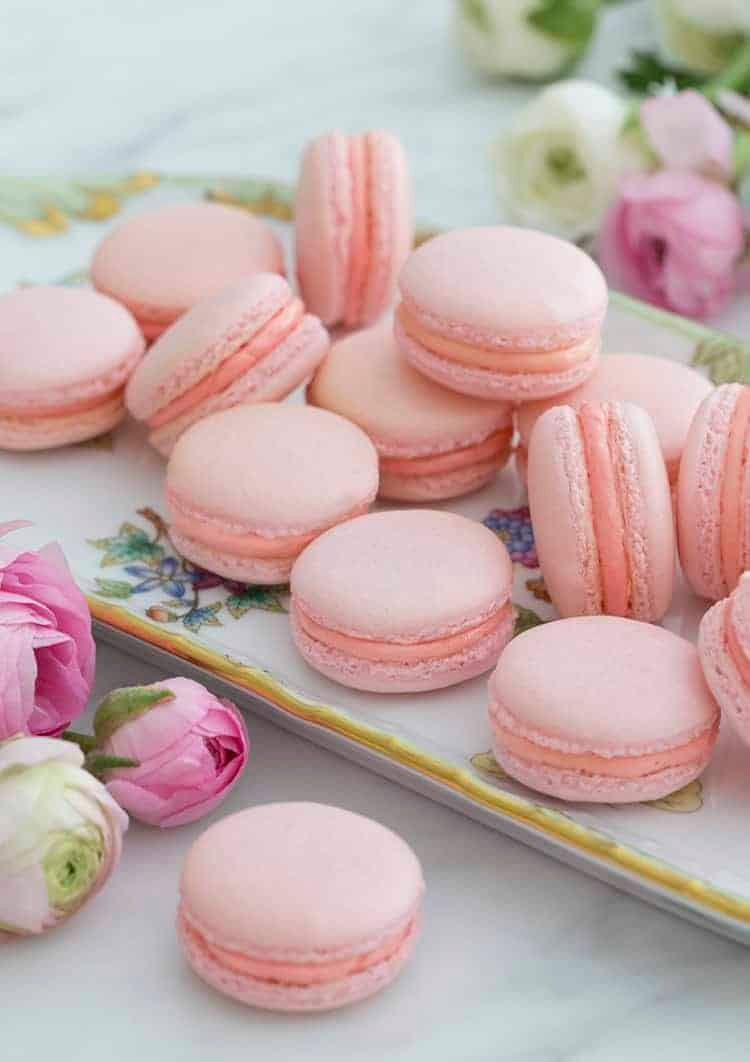
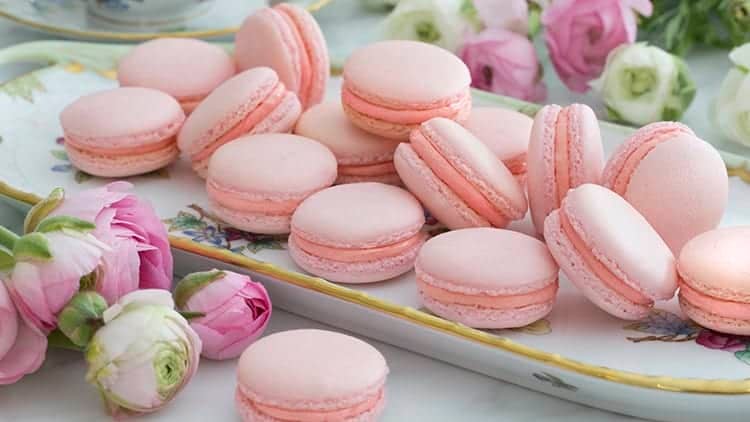
Macarons NOT Macaroons! They are really tough to make but well worth the effort. After a lot of searching and trying different recipes, we finally found one that works.
Pay CLOSE attention to all the tips – they make a HUGE difference! No other recipe we found was as complete as this one. Not even serious eats!
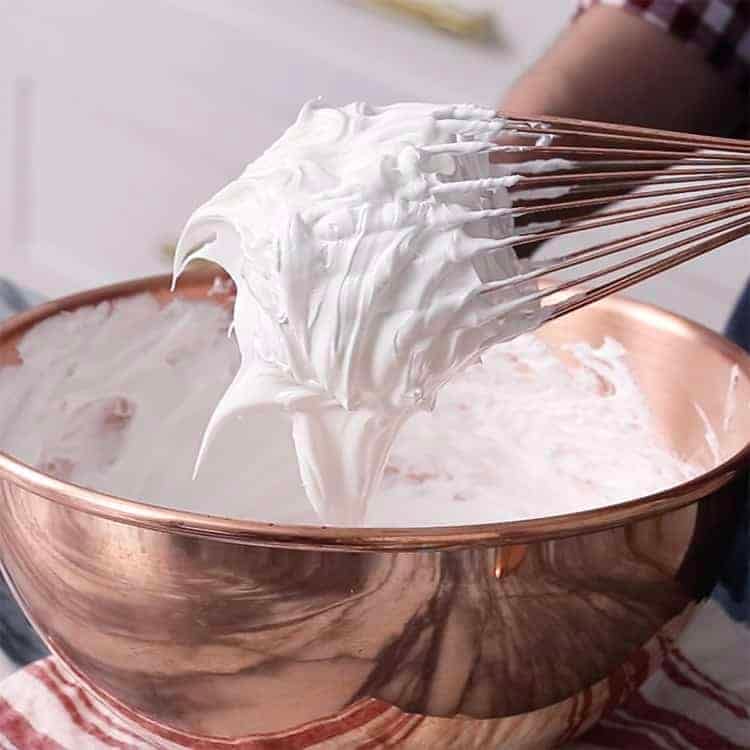
THE MERINGUE!!!! That meringue HAS TO BE STIFF! I had no idea French meringue could be whipped to such a thick marshmallowy consistency but all it takes is a bit of extra whisking. You’ll notice the meringue start to fill the whisk when you’re getting close to the right stage.
Age your egg whites! Separate the eggs, place the whites in a clean glass, cover with plastic wrap and let them hang out in the fridge for a few days before using. This will dehydrate them and make them perfect for macarons.
Sift, Sift, SIFT! Those larger pieces of almond flour will mar the surface of your macarons. Best practice is to sift then whiz in the food processor and repeat two more times. Discard the larger particles, don’t try to press them through the sieve.
The mixing will take some practice, you will fold and fold the batter and then use the spatula to GENTLY press the batter against the bowl. You want to remove some of the bubbles but not to many… Continue this until it reaches a thick “lava” consistency. It should slowly fall off the spatula in ribbons and be able to form a figure eight without breaking.
Pipe the macarons perpendicular to the surface. If your tip is pointing a bit in any particular direction when you pipe the macarons might be oblong or malformed.
Add your coloring to the meringue after it reaches the soft peak stage.
When you are finishing the piping motion stop squeezing the bag and pull up with a circular motion.
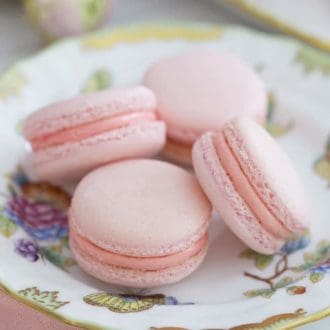
The macarons will be best after 2-3 days resting in the fridge.
If you over-bake the shells and they’re too crisp, brush the bottom with some milk before assembly to soften them up.
WHAT ARE THE STEPS TO MAKE THIS FRENCH MACARON RECIPE?
HOW TO MAKE THIS MACARON RECIPE
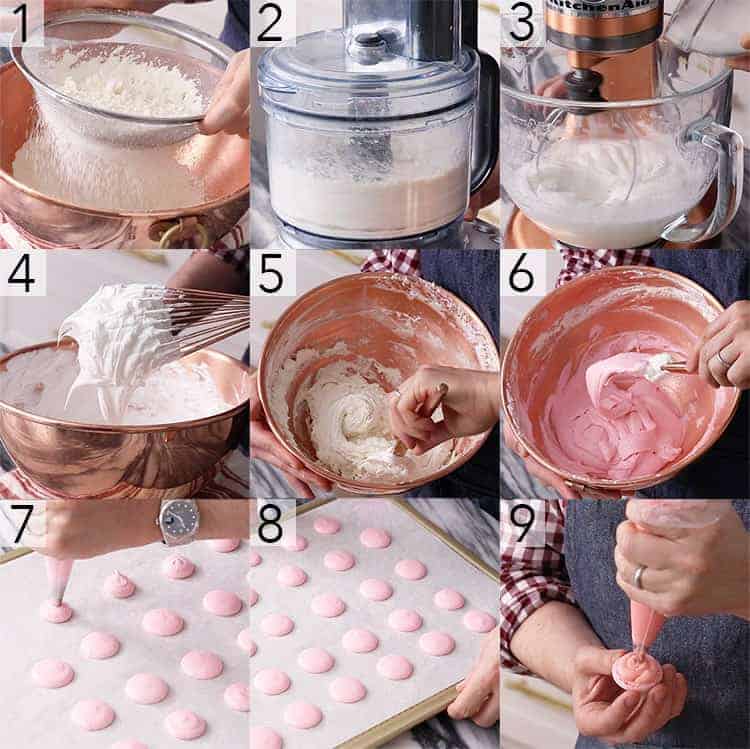
1. Sieve the icing sugar and the ground almonds together in a large bowl and whisk together.
2. Whiz the dry ingredients in the food processor and then sieve again. Repeat this process two more times.
3. Whip the egg whites with the cream or tartar. Add salt and gradually add the sugar. Mix until the merengue reaches the soft peak stage. Add any gel food coloring in at this point.
4. The meringue needs to be whipped to STIFF peaks so it’s actually best to finish the whisking off by hand. This way you’ll have a better feel for then the meringue is done.
5. Add a third of the confectioner’s sugar and almond mixture and fold in gently. Move the spatula in circular motions bringing material from underneath to the top. Add the remaining dry mixture and continue folding.
6. You’ll know it’s ready when it has a “lava-like” consistency, forming a thick ribbon that slowly blends back into itself when drizzled from your spatula. A figure “8” test will tell you when the consistency is correct. The batter should drizzle off the spatula and form an eight. Stop immediately at this point.
7. Transfer batter to a piping bag fitted with a round tip, I usually use a 12 tip. Pipe onto a sheet of parchment paper fixed to a baking sheet. You can use some batter as glue to hold the sheet steady. Pipe perpendicular to the surface and try to be consistent with the sizes. You can print a guide out and have it below the parchment paper to help you pipe uniform circles. When you are finishing the piping motion stop squeezing the bag and pull up with a circular motion.
8. Tap the tray several times to remove air bubbles. Allow to sit for 40-60 minutes so the macarons form a skin. You should be able to touch the shell and feel a dry surface. Heat oven to 300F. Bake for 20 minutes. You’ll know they’re done when if the shells don’t wobble when you move them. Allow to cool for about 10 minutes on the pan then transfer to a rack to cool completely. 9. Pipe your filling onto the back of half the shells. Form a sandwich and enjoy!
Can you make macarons on parchment paper?
Parchment paper is actually the best surface to piping macaron shells. You can still use a silicone mat for the macarons, but the silicone is a bit sticky for the batter. Don’t use wax paper or a buttered/greased surface.
Do macarons need cream of tartar?
Cream of tartar helps to stabilize the egg whites when you whip them up. It’s not necessary but can help you on a humid day.
Macaron recipe
Ingredients
For the Cookie
100 g egg whites room temperature 3 large eggs
140 g almond flour 1 1/2 cups
90 g granulated sugar just under 1/2 cup
130 g powdered sugar 1 cup
1 tsp vanilla 5mL
1/4 tsp cream of tartar 800mg
For the Buttercream
1 cup unsalted butter softened 226g
5 egg yolks
1/2 cup granulated sugar 100g
1 tsp vanilla
3 tbsp water 30mL
1 pinch salt
Instructions
For the Macarons:
Sift the confectioners sugar and almond flour into a bowl.
Add the room temperature egg whites into a very clean bowl.
Using an electric mixer, whisk egg whites. Once they begin to foam add the cream of tartar and then SLOWLY add the granulated sugar.
Add the food coloring (if desired) and mix in. Continue to beat until stiff peaks form.
Begin folding in the 1/3 of the dry ingredients.
Be careful to add the remaining dry ingredients and fold gently.
The final mixture should look like flowing lava, and be able to fall into a figure eight without breaking. Spoon into a piping bag with a medium round piping tip and you’re ready to start piping.
Pipe one inch dollops onto a baking sheet lined with parchment paper (this should be glued down with dabs of batter). Tap on counter several times to release air bubbles. Allow to sit for about 40 minutes before placing in oven.
Bake at 320F for 12-15 minutes, rotate tray after 7 minutes. Allow to cool completely before removing from baking sheet.
For the French Buttercream Filling:
Combine sugar and water in medium saucepan. Heat over low heat while stirring until sugar dissolves. Increase heat to medium- high and bring to a boil
Put egg yolks in a stand-mixer fitted with a whisk attachment and beat until thick and foamy.
Cook the sugar and water syrup until it reaches 240 degrees F. Immediately remove from heat. With mixer running, SLOWLY drizzle hot syrup into bowl with yolks.
Continue mixing until the bottom of the bowl is cool to the touch and the yolk mixture has cooled to room temperature.
Add in butter one cube at a time allowing each piece to incorporate before adding the next. Add vanilla and salt. Continue mixing until buttercream is smooth and creamy. (About 5-6 minutes.) Add food coloring if desired.
For Assembly
Pipe your filling onto the back of half the shells. Form a sandwich and repeat. Macarons should be aged in the fridge for 1-3 days for best results. This allows the filling to soften the shells inside.
2 cups white sugarC&H Pure Cane Granulated Sugar 4 Lb$1.78 for 1 item – expires in a month
1 cup water
2/3 cup light corn syrup
1 teaspoon peppermint oil, or other flavored oil
1 teaspoon any color food coloring
Directions
Generously coat a cookie sheet with confectioners’ sugar, and set aside.
In a heavy bottomed saucepan, stir together the white sugar, water and corn syrup until sugar has dissolved.
Bring to a boil over medium-high and cook to a temperature of 300 to 310 degrees F (149 to 154 degrees C), or until a small amount of syrup dropped into cold water forms hard, brittle threads.
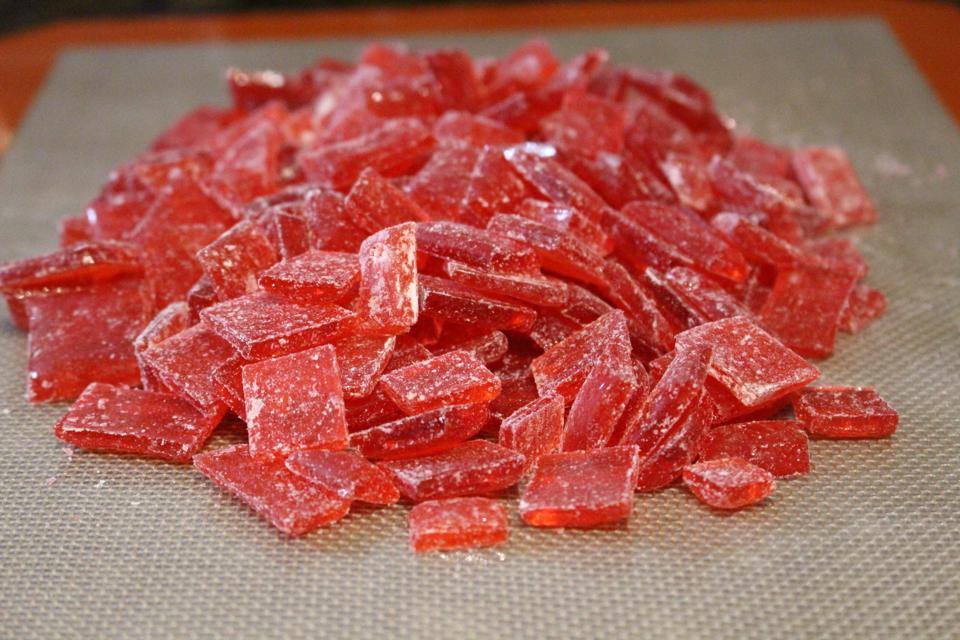
Remove from heat, and stir in the flavored oil and food coloring.
Immediately pour the sugar mixture onto the prepared cookie sheet in a thin stream (this helps it cool).
When the candy is cool enough for the outer edge to hold its shape, cut into bite size pieces with scissors.
Let cool completely, then store in an airtight container.
It was always the most radical of the major Victorian museums, installing gas lighting so evening sessions could be attended by the working classes. The most popular galleries include Islamic and Asian art,
Very strong on exhibitions (although these attract an extra charge) that touch on the contemporary pop culture and fashion; including ones on David Bowie, the 60’s, Balenciaga and Pink Floyd.
1 to 2 tablespoons brown or white sugar (15 to 30g) (optional)
Directions
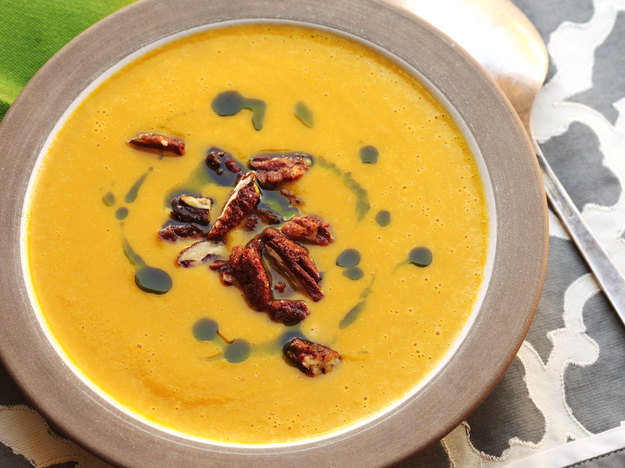
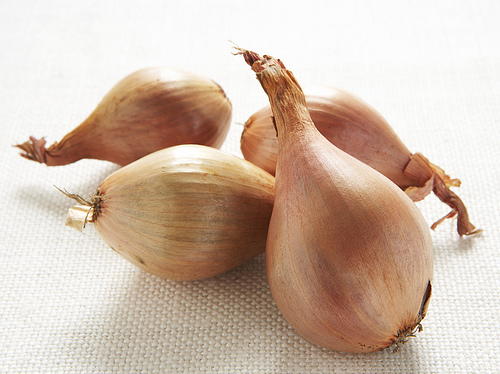
1.Heat butter in a large saucepan or Dutch oven over medium-high heat until melted. Continue cooking, swirling pan constantly, until butter solids are lightly browned and the butter smells nutty, about one minute longer. Immediately add onion, celery, carrot, and whole thyme sprigs (if using), reduce heat to medium, season with salt and pepper, and cook, stirring occasionally, until vegetables are softened but not browned, about 5 minutes. Add stock, squash, and bay leaves. Increase heat to high and bring to a boil. Reduce to a bare simmer and cook until squash is completely tender, about 20 minutes.
2.Using tongs, discard bay leaves and thyme stems. Add heavy cream. Using an immersion blender or working in batches in a countertop blender, blend soup until completely smooth. Season to taste with salt, pepper, and lemon juice. Add sugar if desired (some squashes are naturally sweeter than others). Serve.
As a person who does NOT write songs, I can’t claim to have any special insight into the music world. But I still need to wonder how someone could even conceive writing this song.
Lyrics
It’s raining tacos From out of the sky Tacos No need to ask why Just open your mouth and close your eyes It’s raining tacos! Raining tacos Out in the street Tacos All you can eat Lettuce and shell Cheese and meat It’s raining tacos! Yum Yum, Yum Yum Yumity Yum It’s like a dream!!! Yum Yum, Yum Yum Yumity Yum Bring your sour cream!!! Shell Meat Lettuce Cheese (Clap clap clap clap clap clap clap) Shell Meat Lettuce Cheese Shell Meat Cheese Cheese Cheese Cheese Cheese It’s raining tacos… (ohhoo) Raining tacos. (ohhoo) Raining Tacos!!! (ohhoo!!) (It’s raining Tacos) (Raining tacos) (Raining tacos) (Raining tacos) Raining tacos (shell meat lettuce cheese) Raining tacos (cheese cheese cheese cheese) It’s raining… (Raining tacos…)
1 Cups White or Clear PVA (polyvinyl-acetate) Glue
1 Cups Shaving Cream (add more as needed to increase fluffiness)
Food Coloring – as Desired
2+ pumps Hand lotion – increases stretchiness
DIRECTIONS
Make Borax mix – activator:
Determine the desired mix from the chart
Desired Result→
More Like Slime
More like Putty
Borax
0.5 Teaspoon
3 Teaspoons
Hot Water
1 Cup (8 oz)
1 Cup (8 oz)
Stir together until borax is fully dissolved.
In a bowl, add glue, shaving cream and, if used, food coloring to a bowl. Mix thoroughly.
Add borax mix to bowl SLOWLY (2 teaspoons initially, then 1-3 teaspoons at a time) and mix with spatula.
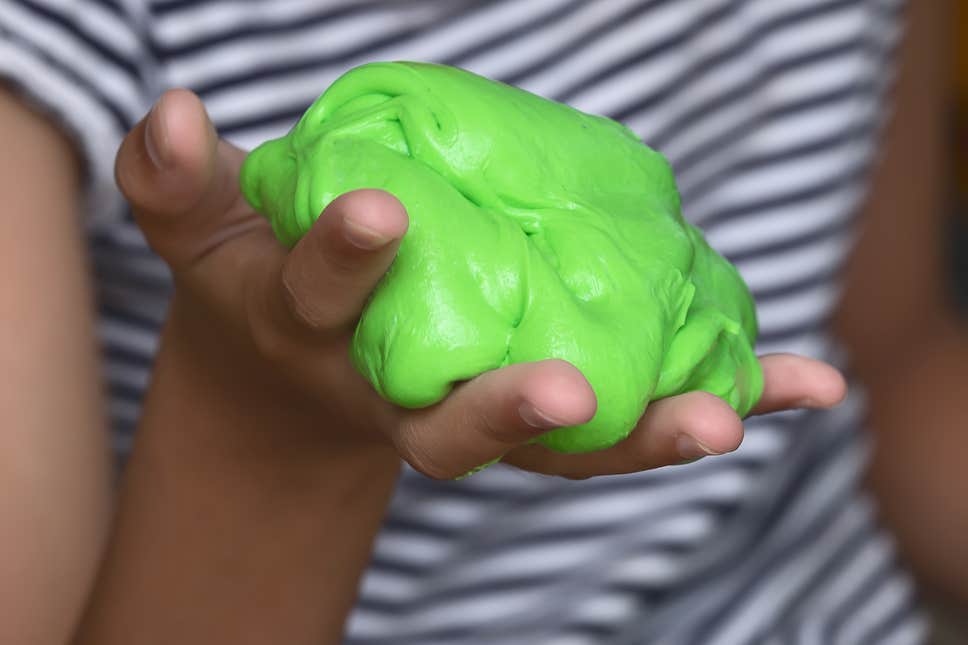
If slime is too sticky, add more Borax mix
If your slime “rips” you have too much Borax. Try adding lotion
Knead the slime thoroughly before you add more borax!
Add lotion – 2 pumps at a time. You might need a lot – 10-20 pumps!
When it is the right consistency, add any special additions: glitter, glow powder or pigments.
NOTES:
Contact lens solution is not needed if you have Borax. If you use saline solution it must contain sodium borate and boric acid
Cornstarch is NOT an activator. Liquid starch (which cannot be made at home) is.
Baking soda or cornstarch can be used to thicken the slime.
The borate ions in the slime activators (sodium borate, borax powder, or boric acid) mix with the PVA (polyvinyl acetate) glue and forms this cool stretchy substance. This is called cross-linking! The glue is a polymer and is made up of long, repeating, and identical strands or molecules. These molecules with flow past one another keeping the glue in a liquid state. Until you add the borate ions to the mixture, and it then starts to connect these long strands together. They begin to tangle and mix until the substance is less like the liquid you started with and thicker and rubbery like slime! Slime is a polymer.
Clear glue is less stretchy over time and more prone to breaking.
clear glue requires a bit less activator with than with white glue.